Ethernet Wiring Diagram: How to Wire an RJ45 Plug and Wall Socket
An ethernet wiring diagram comes down to one thing: getting the eight coloured wires into the right order and keeping both ends of the cable consistent. Whether you are crimping an RJ45 plug onto a patch lead or punching wires into a keystone wall socket, the colour sequence is the same, and there are only two standards to choose from. Get the order right and both ends matching, and the cable just works. Get one wire out of place, or mix the two standards, and you get a dead connection or a much slower one. This guide gives you the colour order for both standards and the steps for a plug and a socket.
The single most important rule, before anything else: pick one standard and use it on both ends of the cable. That is what turns eight loose wires into a working link.
The two standards: T568A and T568B
There are two wiring standards, T568A and T568B. They are electrically identical, so neither is faster than the other; the only difference is which colours sit on which pins. You just need to choose one and stick to it throughout your home.
T568B is the more common choice in most installations. Its wire order, pin 1 to pin 8, is:
- White/Orange
- Orange
- White/Green
- Blue
- White/Blue
- Green
- White/Brown
- Brown
T568A swaps the orange and green pairs. Its order, pin 1 to pin 8, is:
- White/Green
- Green
- White/Orange
- Blue
- White/Blue
- Orange
- White/Brown
- Brown
If you are wiring a whole house, T568B is a sensible default simply because it is the one most kit and most guides assume. What matters far more is that every socket, plug and patch lead in your home uses the same one.
The rule you must not break
Never terminate one end of a cable with T568A and the other with T568B. Doing that accidentally creates a crossover cable, which will not work as a normal straight-through connection between a device and a router or switch. Modern gear can sometimes auto-correct it, but you should never rely on that. Straight-through, same standard on both ends, every time. This one mistake causes more “the cable doesn’t work” problems than anything else.
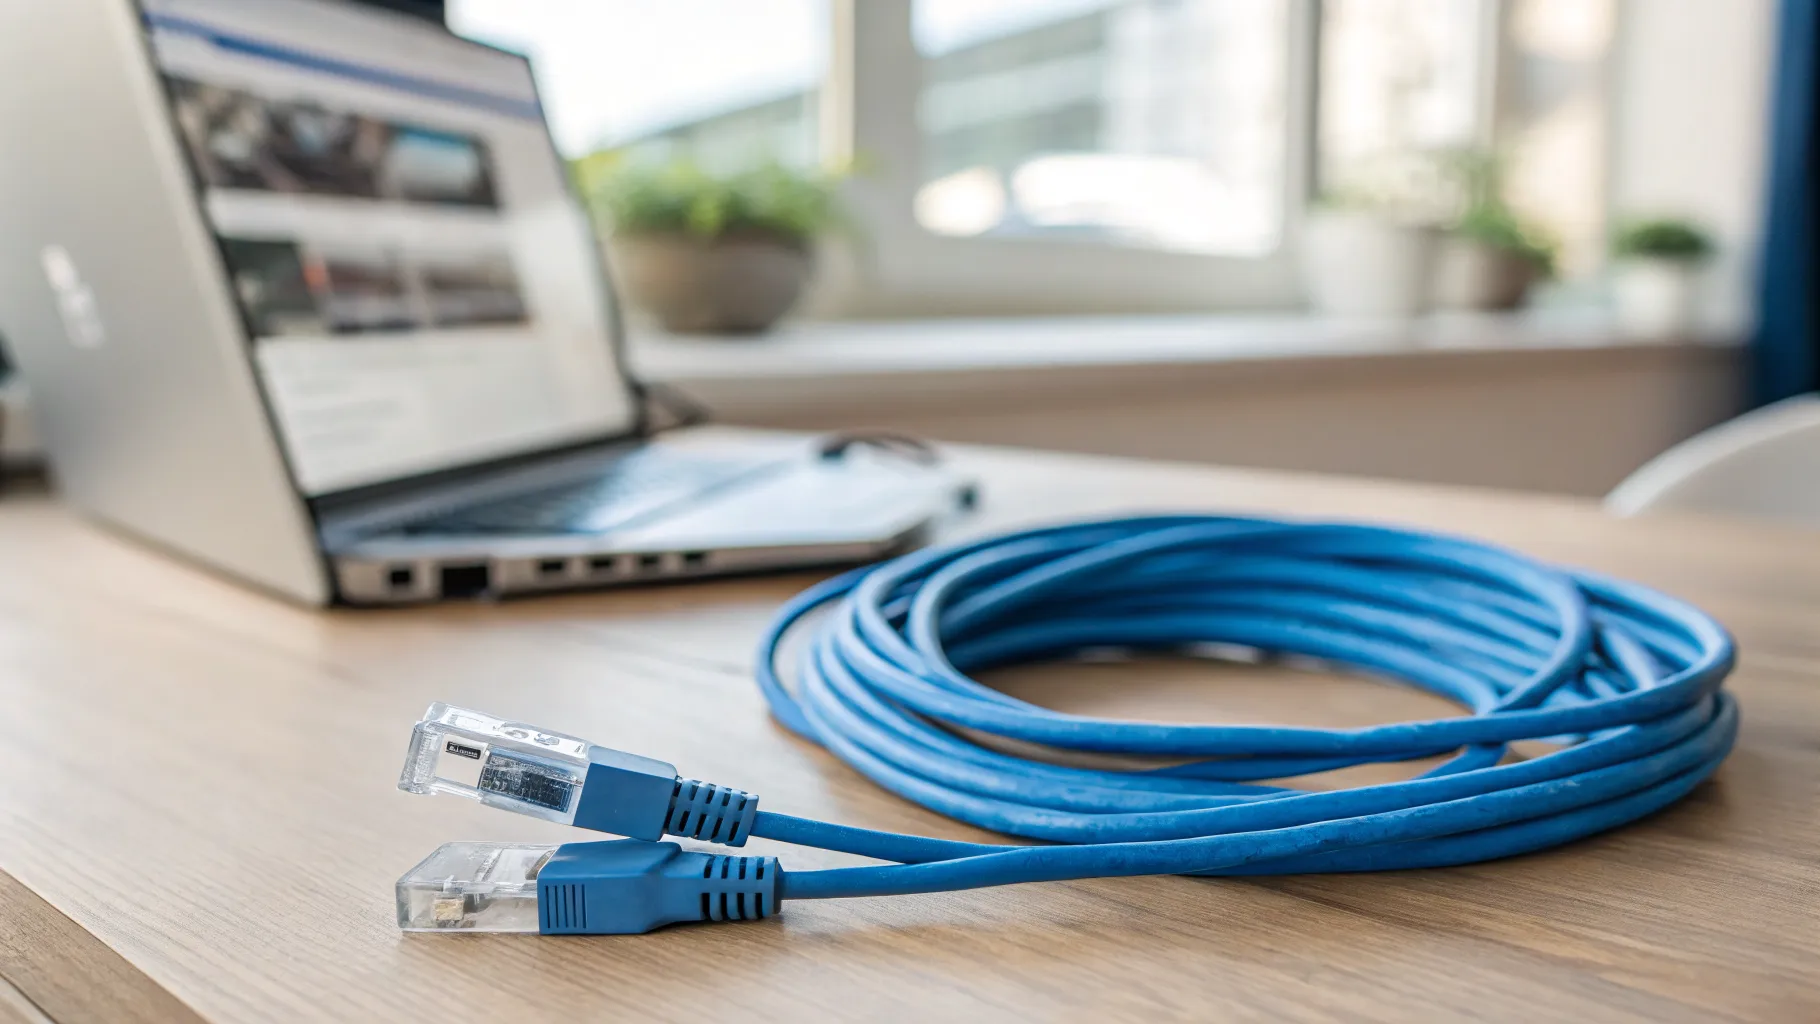
How to wire an RJ45 plug (crimp connector)
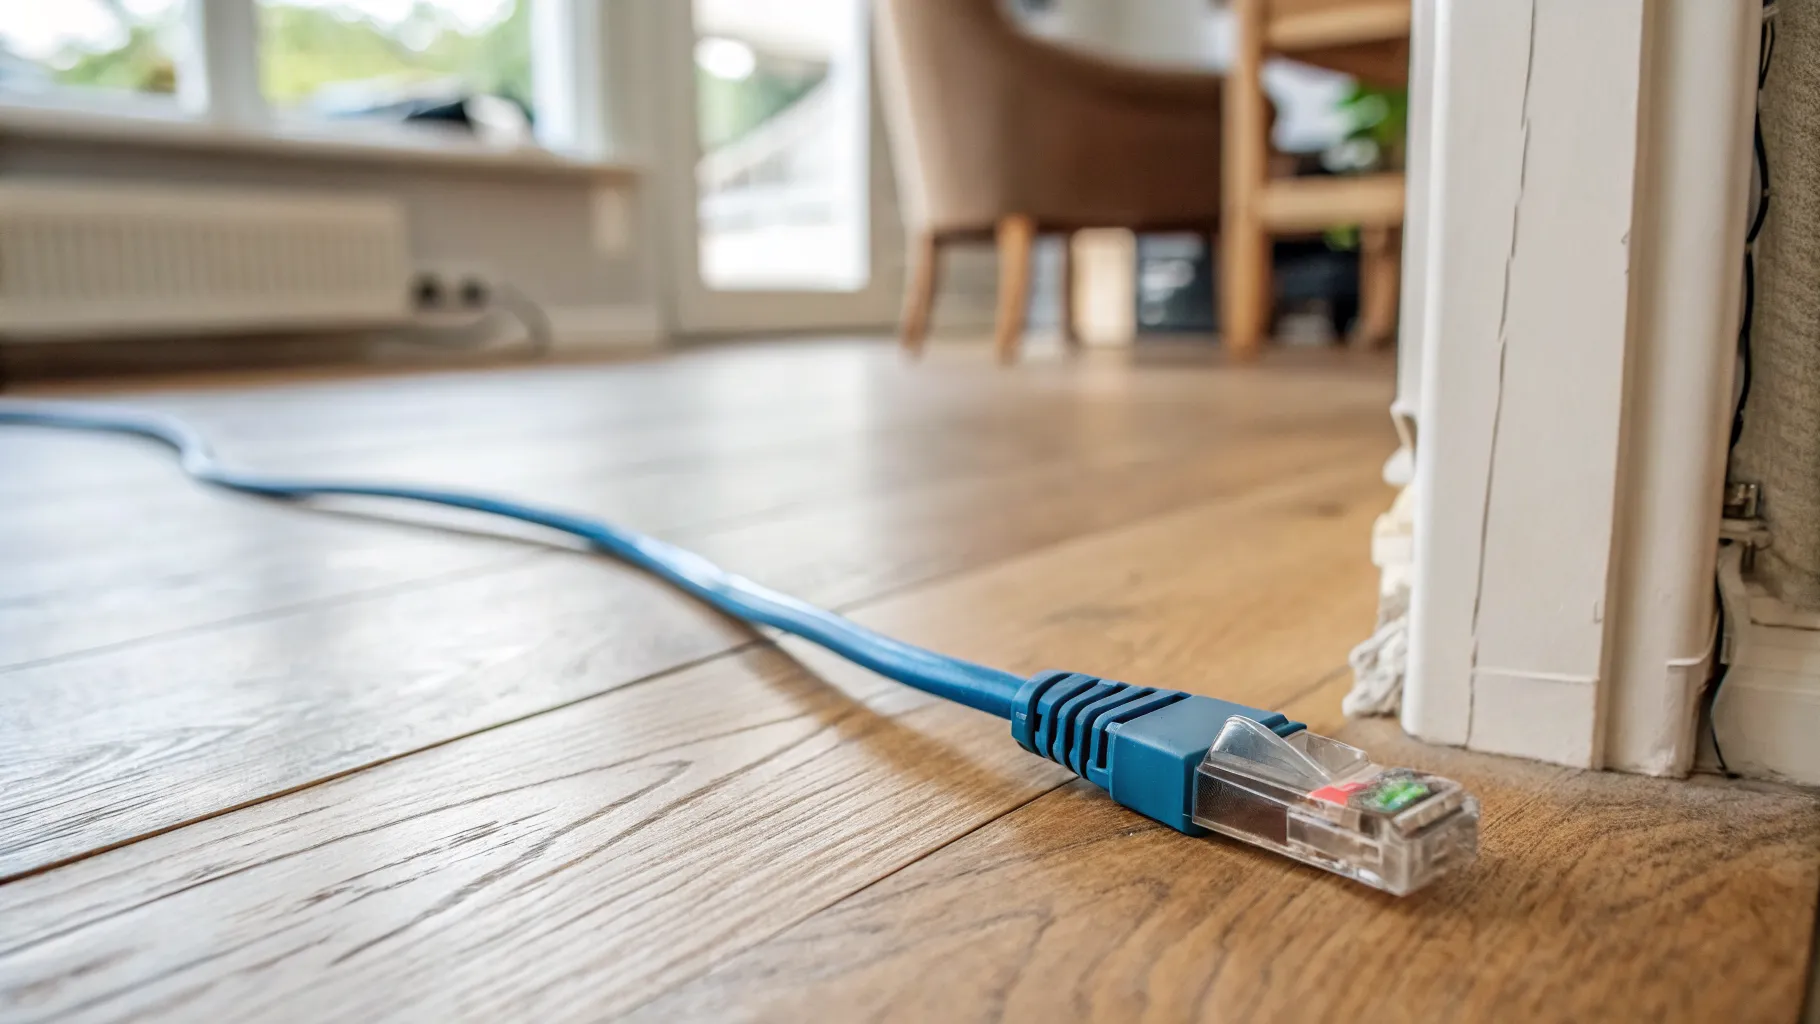
For making a patch lead or terminating a run into a plug:
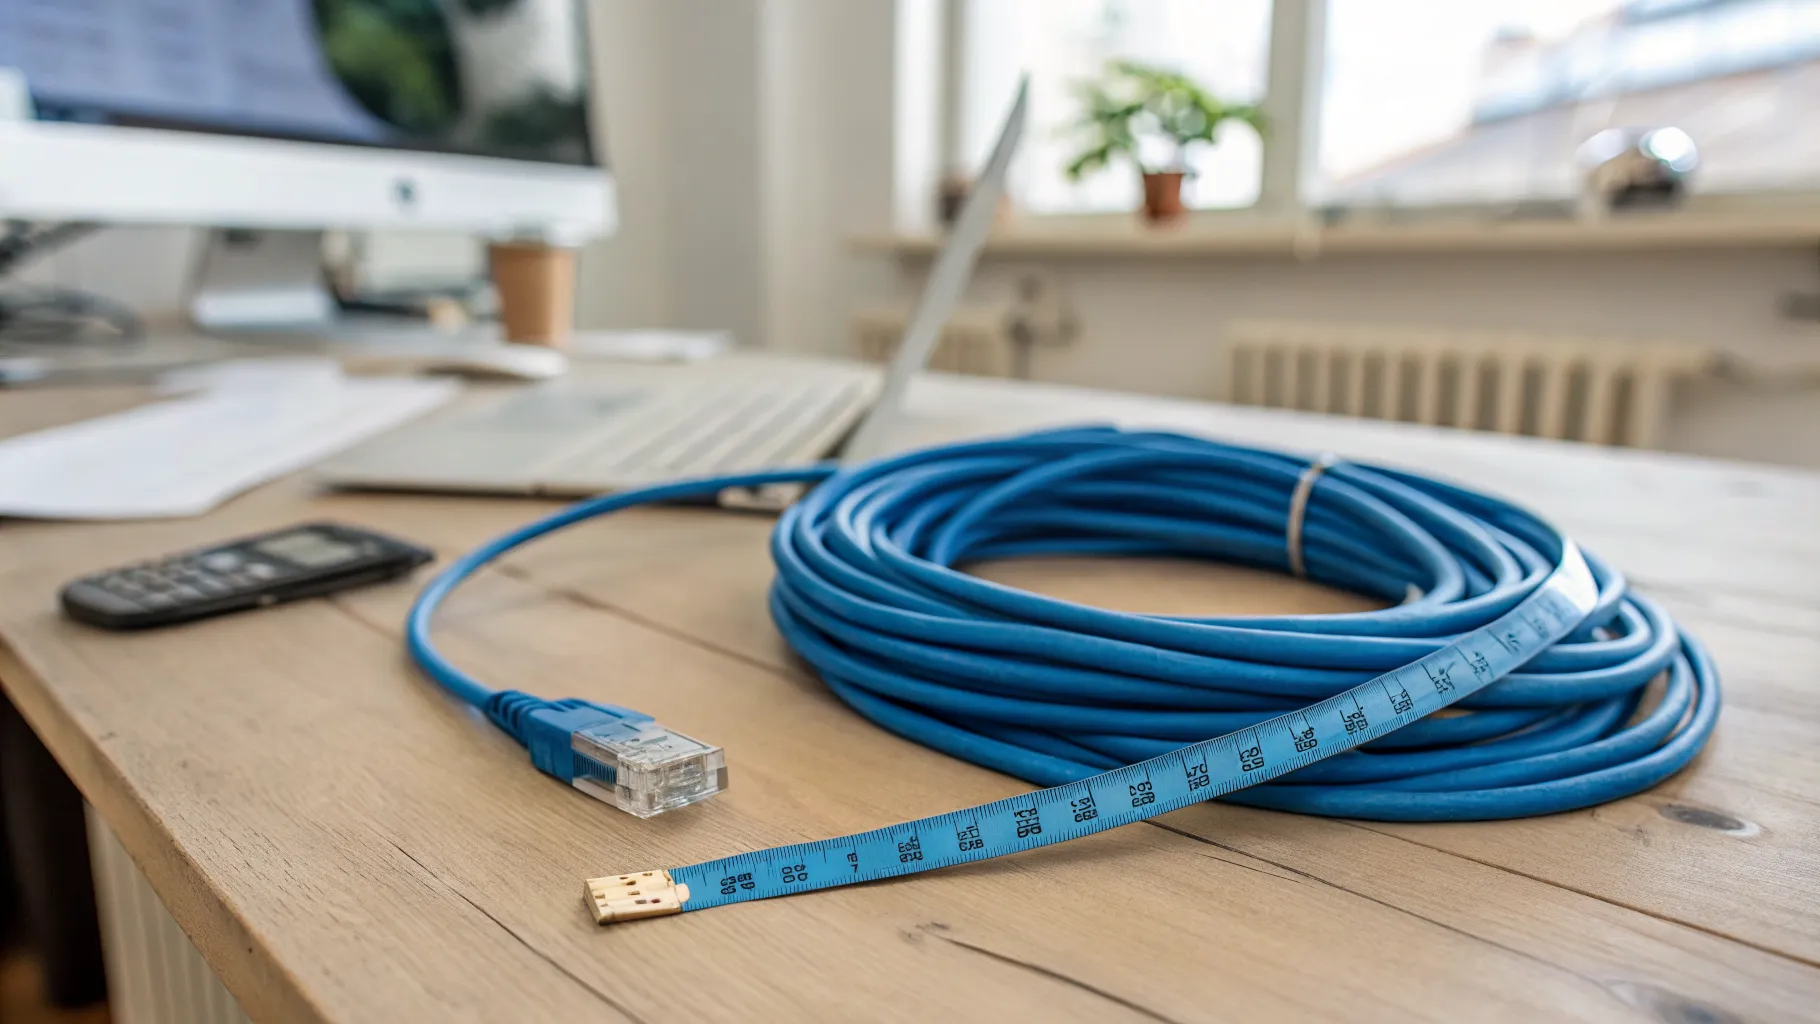
- Strip the jacket. Remove about 25mm (1 inch) of the outer sheath without nicking the inner conductors.
- Untwist and sort. Separate the four twisted pairs and arrange the eight wires flat in your chosen order, T568B or T568A from above.
- Flatten and trim. Straighten the wires, hold them flat and side by side, then cut them square to about 12mm (0.5 inch). They need to be short enough that the outer jacket seats inside the connector while the wires reach the gold contacts at the front.
- Insert. Slide all eight wires fully into the RJ45 plug, keeping them in order, with the clip facing away from you and pin 1 on the left. Check through the clear plastic that each wire reaches the end.
- Crimp. Push the plug into the crimp tool and squeeze firmly. This drives the contacts into the wires and locks the jacket in place.
How to wire a keystone wall socket
A wall socket (keystone jack) uses punch-down slots rather than a crimp, and it is often easier for beginners because the colour code is printed on the jack itself.
- Strip about 25mm of jacket and untwist the pairs only as far as you need to.
- Match the colours to the labels. Every keystone jack has a colour guide printed on it, usually with both a T568A and a T568B row. Lay each wire into the slot matching your chosen standard.
- Punch down. Use a punch-down tool to press each wire into its slot; the tool seats the wire and trims the excess in one action. If you do not have one, some tool-less jacks close over the wires instead.
- Clip the jack into the faceplate and you are done.
Keep untwisting to a minimum at both ends. The twists in the pairs are what reject interference, so leaving them intact right up to the connector keeps speeds high, which matters on longer runs. For choosing the cable itself, see our guide to Cat 6 ethernet cable, and if you are planning routes around the house, running ethernet cable through the house covers the wider job.
Test before you close the wall
Once both ends are terminated, test the cable before you tidy up or plaster anything over. A cheap cable tester lights up pins 1 to 8 in sequence at both ends and instantly shows a miswire, a reversed pair or a broken conductor. If you do not have a tester, plugging the lead into a device and confirming a full-speed link is a rough check. For the official colour and pinout definitions, Fluke Networks sets out the T568A and T568B standards in detail. If a finished cable connects but has no internet, our guide to ethernet connected but no internet covers what to check next.
Frequently asked questions
What is the correct order of wires for an ethernet cable? Use one of two standards. T568B runs white/orange, orange, white/green, blue, white/blue, green, white/brown, brown from pin 1 to 8. T568A swaps the orange and green pairs. Both perform identically; the essential rule is to use the same standard on both ends of the cable.
Should I use T568A or T568B? Either works, as they are electrically identical. T568B is the more common default and the one most equipment and guides assume, so it is a safe choice for a home. The only firm requirement is consistency: use the same standard on every plug, socket and lead in your network.
What happens if I wire each end differently? If you terminate one end with T568A and the other with T568B, you create a crossover cable rather than a standard straight-through one. It will usually fail to connect a device to a router or switch normally. Always match the standard at both ends.
Do UK ethernet sockets use the same colour code? Yes. The T568A and T568B colour standards are used worldwide, including in UK homes, for both RJ45 plugs and keystone wall sockets. The colour code printed on a UK keystone jack will show the same two rows, and you simply follow the one you have chosen.
Do I need special tools to wire ethernet? For an RJ45 plug you need a crimp tool and connectors. For a keystone wall socket you need a punch-down tool, though some tool-less jacks avoid this. A wire stripper helps, and an inexpensive cable tester is well worth having to confirm the termination before you rely on the run.